Noma Fermentation Buyer’s Guide

I’ve cooked most of the recipes from The Noma Guide to Fermentation. Along the way, I learned which tools work and which tools don’t for everyday home cooks.
In this post, I share my recommendations for which products to purchase to maximize your success with the Noma Guide to Fermentation.
GUIDE
〰️
GEAR
〰️
GUIDE 〰️ GEAR 〰️
THE GUIDE
My first visit to Noma blew my mind. Before that meal, I knew that gourmet food could taste great, but I didn’t know that a meal could be a reality-bending experience. Beyond just technical execution and creative presentation, Noma mastered complex acidity like I didn’t think was possible. Every course tasted so foreign — almost alien — that I struggled to understand what I was eating. But it was delicious, and I was hooked. I’ve been to Noma 6 times since.

My (signed!) copy
When Noma released The Noma Guide to Fermentation, it felt like a vault of secrets had been opened. With the Guide, Noma revealed that much of the magic behind their incredible dishes was the result of age-old food preservation technique: fermentation. This was revelatory, because fermentation is actually pretty approachable.
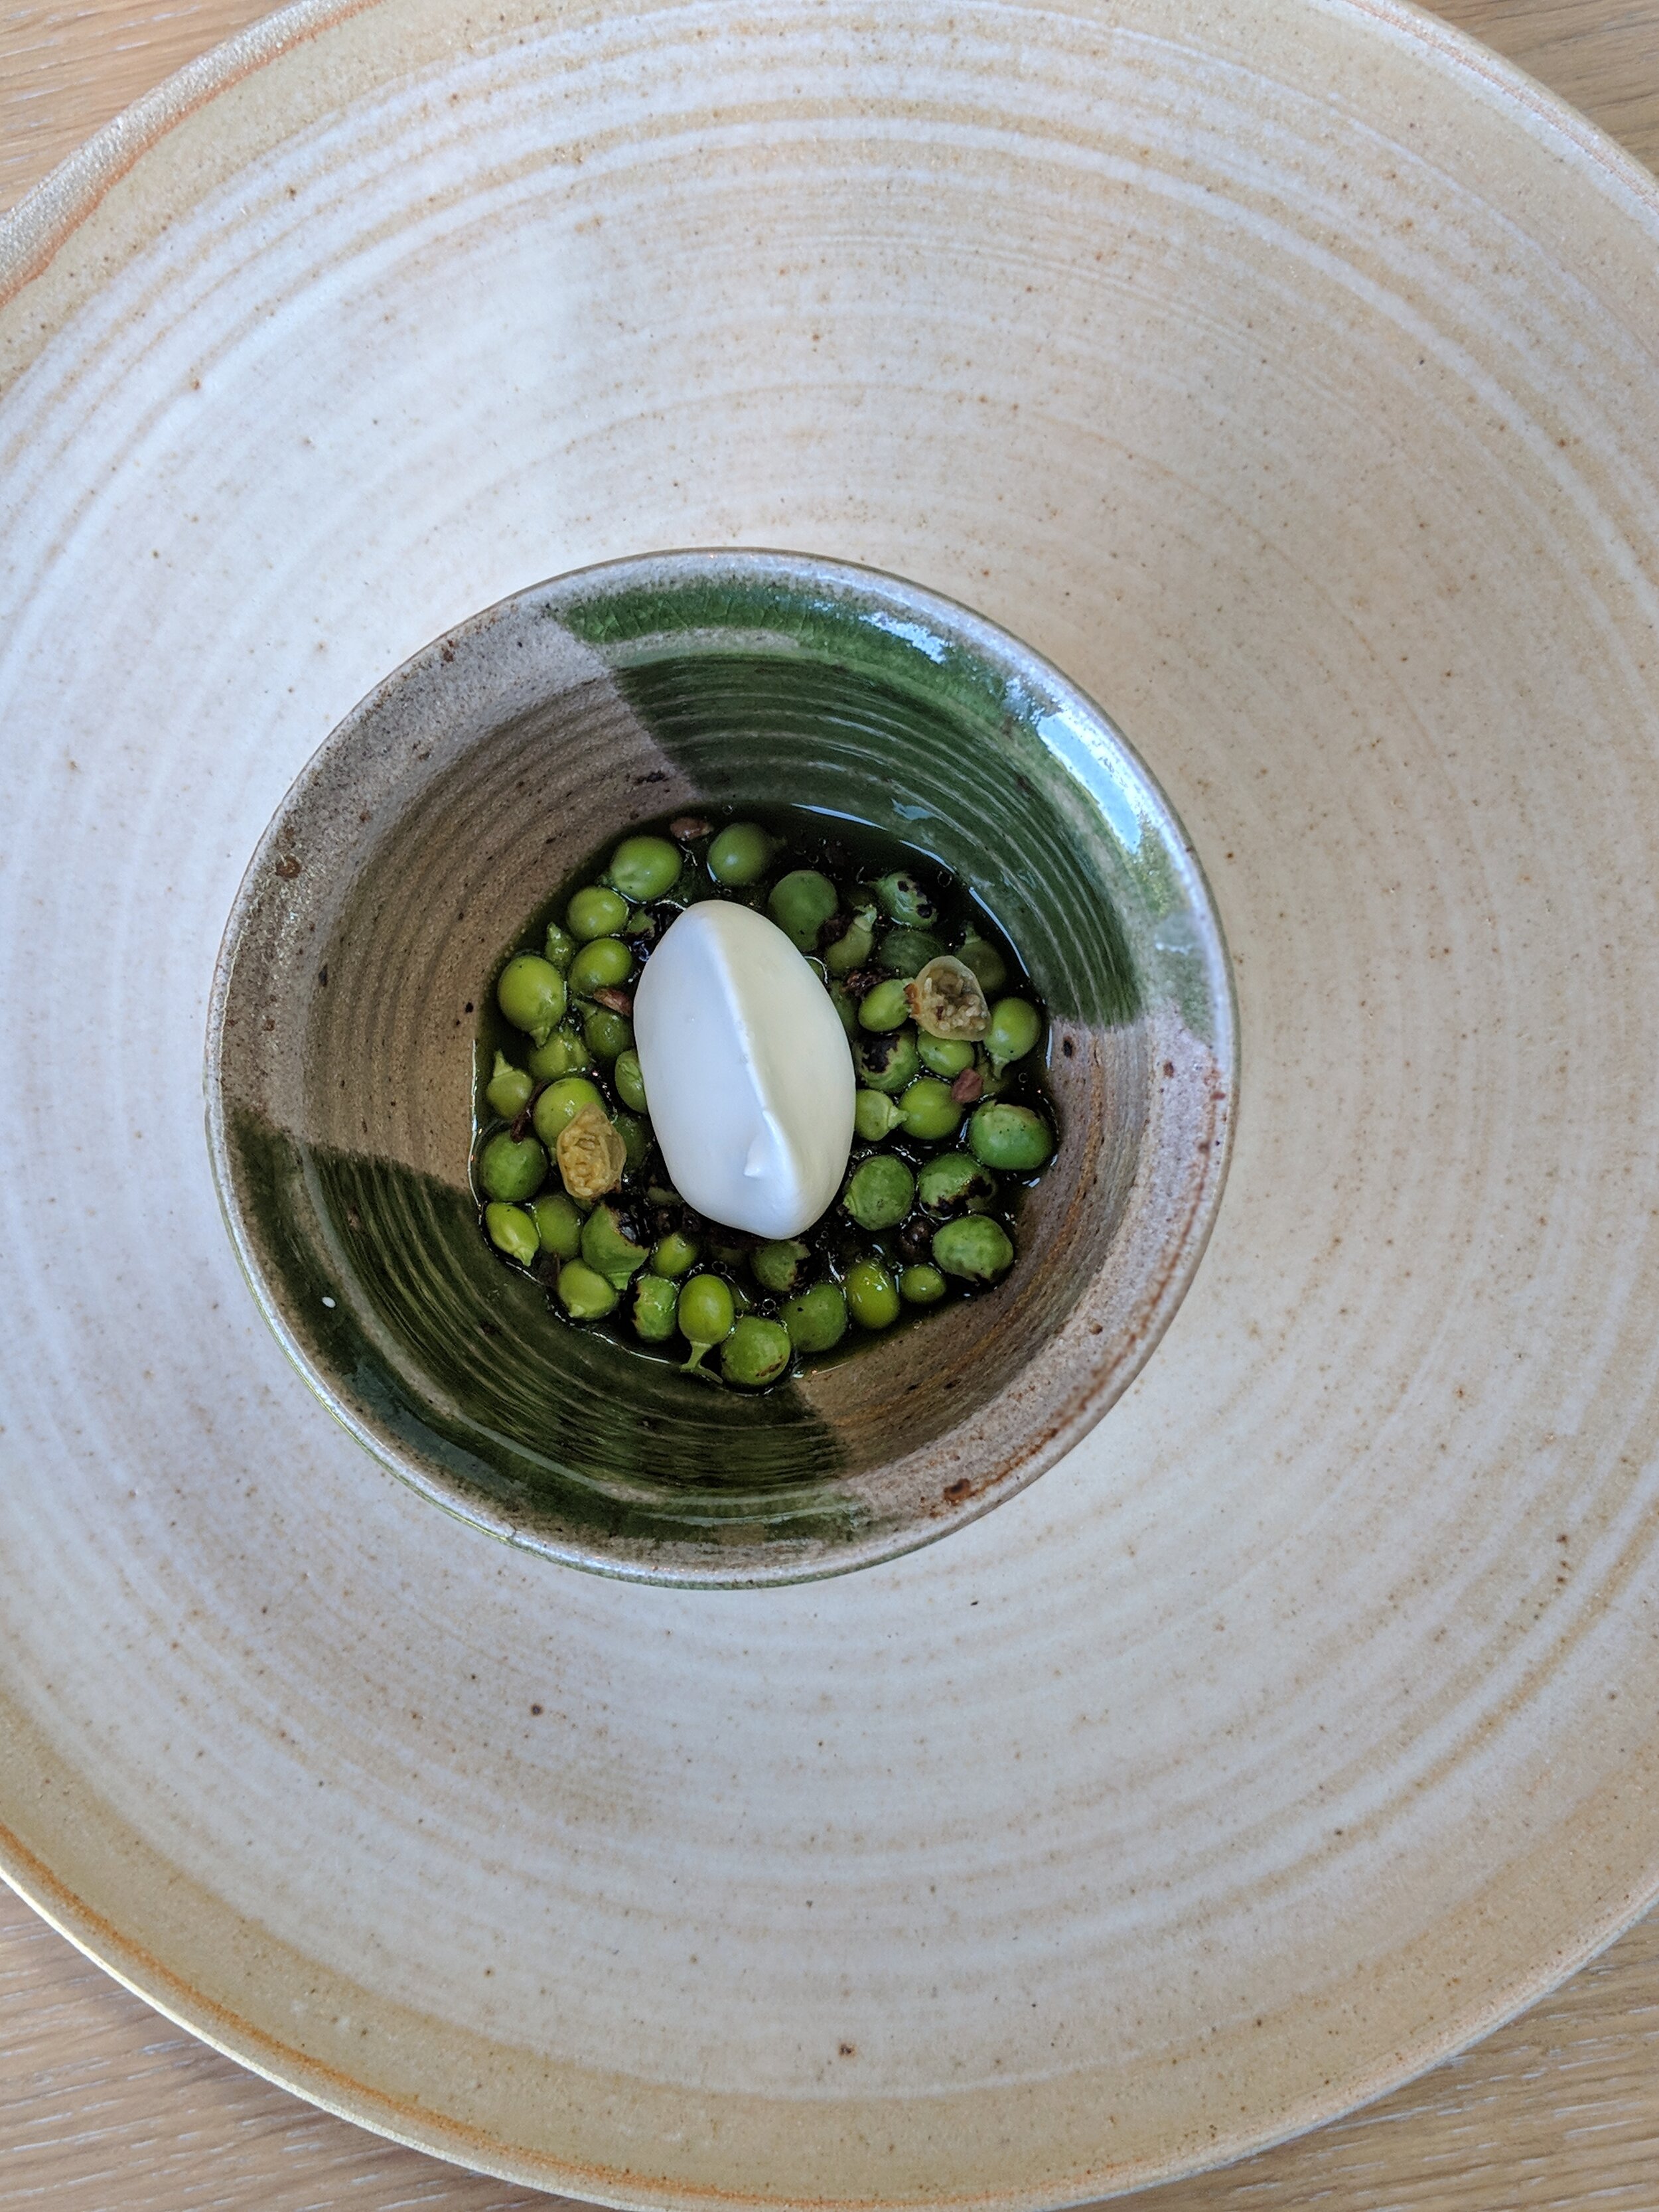
The Noma Guide to Fermentation is proof that it’s possible to replicate Noma’s mastery of umami, acidity, and unadulterated deliciousness at home. It is without question the most inspirational and habit-changing cookbook I’ve ever used, and it’s fundamentally evolved how I think of flavor and create my own dishes.
With recipes for unique vinegars, misos, soy sauce, and kombuchas, it’s even helped me with thoughtful holiday gift giving, as many of the recipes make great pantry items.
GUIDE
〰️
GEAR
〰️
GUIDE 〰️ GEAR 〰️
THE GEAR
At this point, I’ve made it through the majority of the recipes. Along the way, I found that certain equipment works better than others, and the many options out there can be a little daunting. To help, I made this post to help folks buy the right equipment to make their own lacto-ferments and pickles, vinegar, koji, miso, and garums. Hope this helps!
Koji / Fermentation Chamber Equipment
This is the exact fermentation chamber equipment I use to grow koji for my ramen and ceviche pop-ups in San Francisco. Through a mutual friend, I actually chatted directly with David Zilber about what to buy. This setup is perfect for making koji in batches of 500g of uncooked barley at a time.
1. Styrofoam cooler
This one is great for a few reasons. It’s not as tall as others, and it can fold up when not in use, so it takes up less space. The flip-top is great for allowing in just the right amount of air necessary for the koji to do its thing.

2. Half-sized hotel pan
This is what your koji will rest in. The holes provide air to prevent the koji from overheating.
This is important, you’ll also need four long nails to push through the cooler to keep this hotel pan elevated a few inches from the bottom. Without a gap of air beneath the tray, the koji will overheat. Adding these nails improved the results of my koji more than anything else I did.

3. Humidifier
This is the hardest to find piece of equipment in this guide. Why? Because you specifically need a humidifier that turns on when it receives power. Most humidifiers need you to press “on” for it to turn on, and that won’t work with the humidistat. Even the humidifier pictured in the Guide will not work! But this one does.

4. Humidistat
The humidistat turns off the humidifier when the fermentation chamber has enough humidity and turns on the humidifier when it needs more humidity.

5. Heating pad
This is for keeping the koji at 86f. My preferred heating pad is bigger than it needs to be, but it folds in half and fits perfectly.

6. Thermostat
The thermostat turns on the heating pan when the temperature is too low and turns off the heating pad when the temperature is too high.

The other things you’ll need are pearl barley (Bob’s Red Mill has been my favorite brand so far), kitchen towels (one for above and one for below the barley, and be sure to wash them before using) and koji spores.
Lacto-fermentation EQUIPMENT
This is the equipment I use to execute all of Noma’s lactofermentation recipes.
1. Vacuum sealer
Vacuum sealing is my preferred lacto-fermentation method, and you don’t need anything fancy. You can’t go wrong with FoodSaver.

The vacuum sealer will come with a few vacuum bags, but don’t get suckered into buying spare bags directly from FoodSaver. I use these ones instead because they’re much less expensive and work just as well.
2. Kitchen scale
You need a scale that measures to the gram, because you’re going to add exactly 2% of your ingredients’ weight in salt. This one is the most reliable and durable one I’ve used.

3. Wide mouth mason jar
For the lacto-ferments that are liquid-based (e.g. shio koji, hot sauce) or that will expel a lot of liquid throughout the ferment (e.g. tomatoes, mushrooms), I prefer to use mason jars instead of a vacuum sealer.

4. Fermentation lid
The Noma Guide does not call for this, but it makes fermenting much easier. When the fermentation is doing its thing, air escapes. We want air to exit the mason jar so that it doesn’t explode from built-up pressure. But we also don’t want to let air in (because that can let the wrong bacteria take hold). This lid has a one-way valve to allow for this.
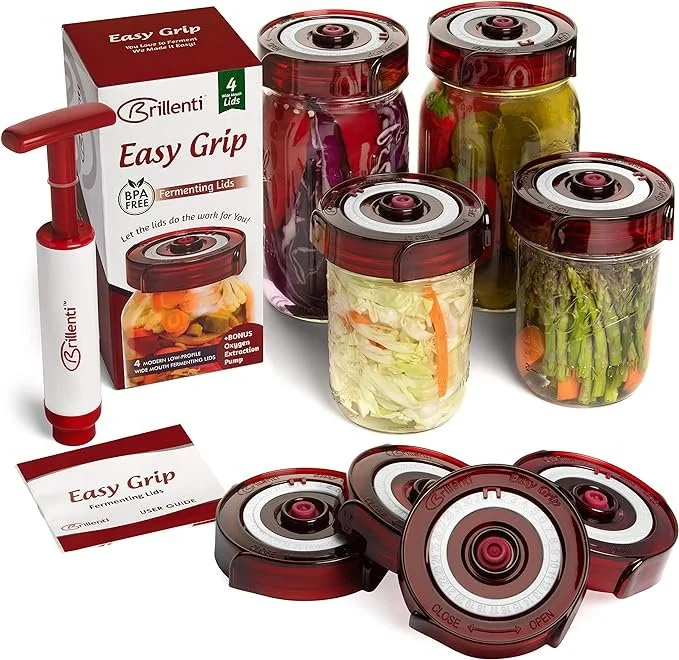
5. Fermentation weight
The Noma Guide doesn’t call for this either, but I like using them a lot more than filling a ziploc bag with water (which is what they do in the Guide). A glass weight like this ensures that the ferments are submerged under liquid rather than exposed to air.


VINEGAR EQUIPMENT
I use the mason jars linked above for vinegar. But instead of using a lid, you need to just use a kitchen towel and an elastic.
1. Air pump with air stone
Vinegars need oxygen to ferment. If you want to dramatically speed up your vinegar production, you can speed it up by pumping in even more oxygen. I use one of these to oxygenate my vinegars.

2. Juicer
If you’re planning on making vinegar from fruits or vegetables, you’ll also need a juicer. I personally don’t have one of these, but my sister has this one and I’ve borrowed it. I highly recommend making celery root vinegar with this.
If you don’t have the space for a juicer, you can also just blend the juice and strain it with a nut milk bag.

3. Oak barrel
To take any vinegar to the next level, you can age it in an oak barrel. Beet balsamic, anyone?
You can use this to age soy sauces, too.

Garum equipment
The fermentation chamber will not reach the temperatures necessary to produce garum. It would also not be particularly energy efficient. The Noma Guide recommends using the “keep warm” function of a rice cooker, but I’ve actually found that most rice cookers turn off after 12 hours. I am also skeptical that rice cookers can keep a constant temperature, and I don’t want to make anyone sick.
Instead of the rice cooker, I use sous vide. With proper insulation (e.g. cook it in a cooler, and definitely cover it up!), I imagine this is probably as energy efficient, too. I prefer the ChefSteps Joule because it’s smaller and more powerful than other brands.
Miso Equipment

Since miso ends up sitting around your house at room temperature for many months, I decided I preferred miso equipment that would look good in any room. So I opted to get higher quality stoneware for my miso crock and keep it in my living room. It’s actually a fun conversation starter.

2. Ohio Stoneware crock weights
You’ll also need weights to compact the miso over time. If you don’t have it, be sure to buy some plastic wrap to put on top of the miso (under the weights), too.
