ISTED GRILL SANDWICH RECIPE

Isted Grill, a soon-to-be-shuttered hole-in-the-wall restaurant in Copenhagen, will go down in history. No, not for the fact that — in a city of culinary heavyweights — Isted Grill was the center of gravity for top chefs after a grueling shift. But for their flæskesteg sandwich, a little piece of heaven on earth that punched way above its weight.
Over the course of multiple years and a dozen visits, I tried to recreate the Isted Grill flæskesteg sandwich recipe. Now that Isted Grill has closed down, I’m sharing it here.
Isted Grill, run since 1975 by the Lee family until its closure in late 2022 (edit: they still haven’t closed! But it’s happening soon), occupies a special place in my heart. The restaurant was always my place of recluse on my visits to Copenhagen, either to take a break from the fancy try-hard food served everywhere else or to fill up after a tasting menu that didn't quite do the job. The flaeskesteg sandwich never disappointed.

The sandwich consisted of a white bread bun, pork crackling, braised red cabbage, pickles, and béarnaise. It's basically a Danish Christmas sandwich, and it's surprisingly balanced. These guys were fermenting and serving one bite with three types of acidity long before Noma made it cool in town!
About the recipe
This is not designed to be an exact copycat; it’s designed to copy the components but make each component the best I know how within reason. It ends up being a bit higher-end and more bold flavorwise than Isted Grill for that reason, but dare I say I preferred it to my last Isted Grill visit.
Below, I’ve broken the recipe down into each component and provided commentary on the approach. It’s enough to make at least 10 sandwiches, and you have to start a day in advance for the pork. Hope you enjoy!
1. The bread
This is where I try to be as close to Isted Grill as possible. Don’t be fancy. Don’t make your own bread. Don’t even buy a fancy brioche. Get yourself some white bread bun with sesame seeds. In the US, I get Wonder Bread jumbo seeded burger buns.
2. The Béarnaise Sauce
It’s said that Isted Grill used béarnaise sauce, but it is clearly some shelf-stable mayo-adjacent version. We’re going all in with a real béarnaise, which has the effect of making the tarragon taste a lot more prominent. Unlike a textbook béarnaise recipe, I don’t bother clarifying the butter and don’t use chervil.
Ingredients
250 g of unsalted butter
4 egg yolks
2 shallots (finely chopped)
4 tablespoons of chopped tarragon
200 ml of white wine
100 ml of white wine vinegar
Salt to taste
Steps
If you’ve never made béarnaise or a hollandaise, I recommend watching a YouTube video the first time — the process of adding the butter to just-cooked egg yolks is hard to explain without visuals.
Melt the butter in something you can easily pour from. Keep it warm.
Add the white wine, white wine vinegar, shallot, and half of the tarragon in a small pot.
Simmer until just a tablespoon or two remains, then strain and reserve the liquid.
Combine the liquid and the egg yolks in a pot and whisk over low heat (don’t overcook the eggs!) until the eggs are foamy and streak a bit in the pan.
Turn off the heat, then gradually add the melted butter while whisking (as if you’re doing a mayo or hollandaise).
Add the remaining tarragon and salt to taste.
3. The Rødkål (AKA braised red CABBAGE)
This ingredient is a Danish Christmas classic. My recipe is a modified version of the one found in the Nordic Cook Book. In fact, that book also has an excellent description of other Nordic Christmas treats (including the pork recipe below), so I recommend it if you want to delve further into Scandinavian Christmas recipe traditions (whether in sandwich form or not!).
Ingredients
1 red cabbage, shredded finely
Half cup brown sugar
⅓ cup red wine vinegar
In bouquet garni (bundle of herbs tied in cheesecloth to make removing them later easier): 10 cloves, 1 bay leaf, 1 stick cinnamon
Two apples or pears, thinly sliced with mandoline
Salt to taste
Steps
Combine everything (except the apple and salt) in a pot (with bouquet garni towards the bottom).
Cook over medium heat for 40 minutes, stirring occasionally. The moisture from the cabbage will gradually evaporate as the flavors get more intense and the ingredients soften.
Add the apple and cook and occasionally stir for 10 more minutes.
If the liquid isn’t a glaze at this point, increase heat to evaporate until it is.
Season to taste with salt.
4. The pickles
Feel free to buy pickles for this recipe. I’m pretty sure they used a vinegar dill pickle that was a bit on the sweet side.
But personally, I lacto-ferment pickles with a bit of dill instead, because the rødkål and bearnaise already use vinegar (and I like mixing different types of acidity).
Ingredients
2 cucumbers
Salt
Steps
Thin slice cucumbers to thickness of about two quarters stacked.
Weigh the cucumbers and a few sprigs of dill.
Combine cucumbers, dill, 2% of their weight in salt in vacuum bag then vacuum seal.
Ferment at room temperature for about a week.
5. The Roast Pork with Crackling
There are three keys to getting perfect Danish roast pork with crackling.
The first key is to get the right cut of meat. It is a particular part of the loin/back with fat and skin. They don’t sell this cut in the US at most places unless you ask, and I’ve found the simplest thing to do is just ask for pork shoulder with skin on.
The second key is to crisp up the skin. There’s nothing worse than going through the whole process and finding that the skin doesn’t crisp, so I use a totally fool-proof method that handles the skin-crisping as its own step. I’ll explain this in the recipe below.
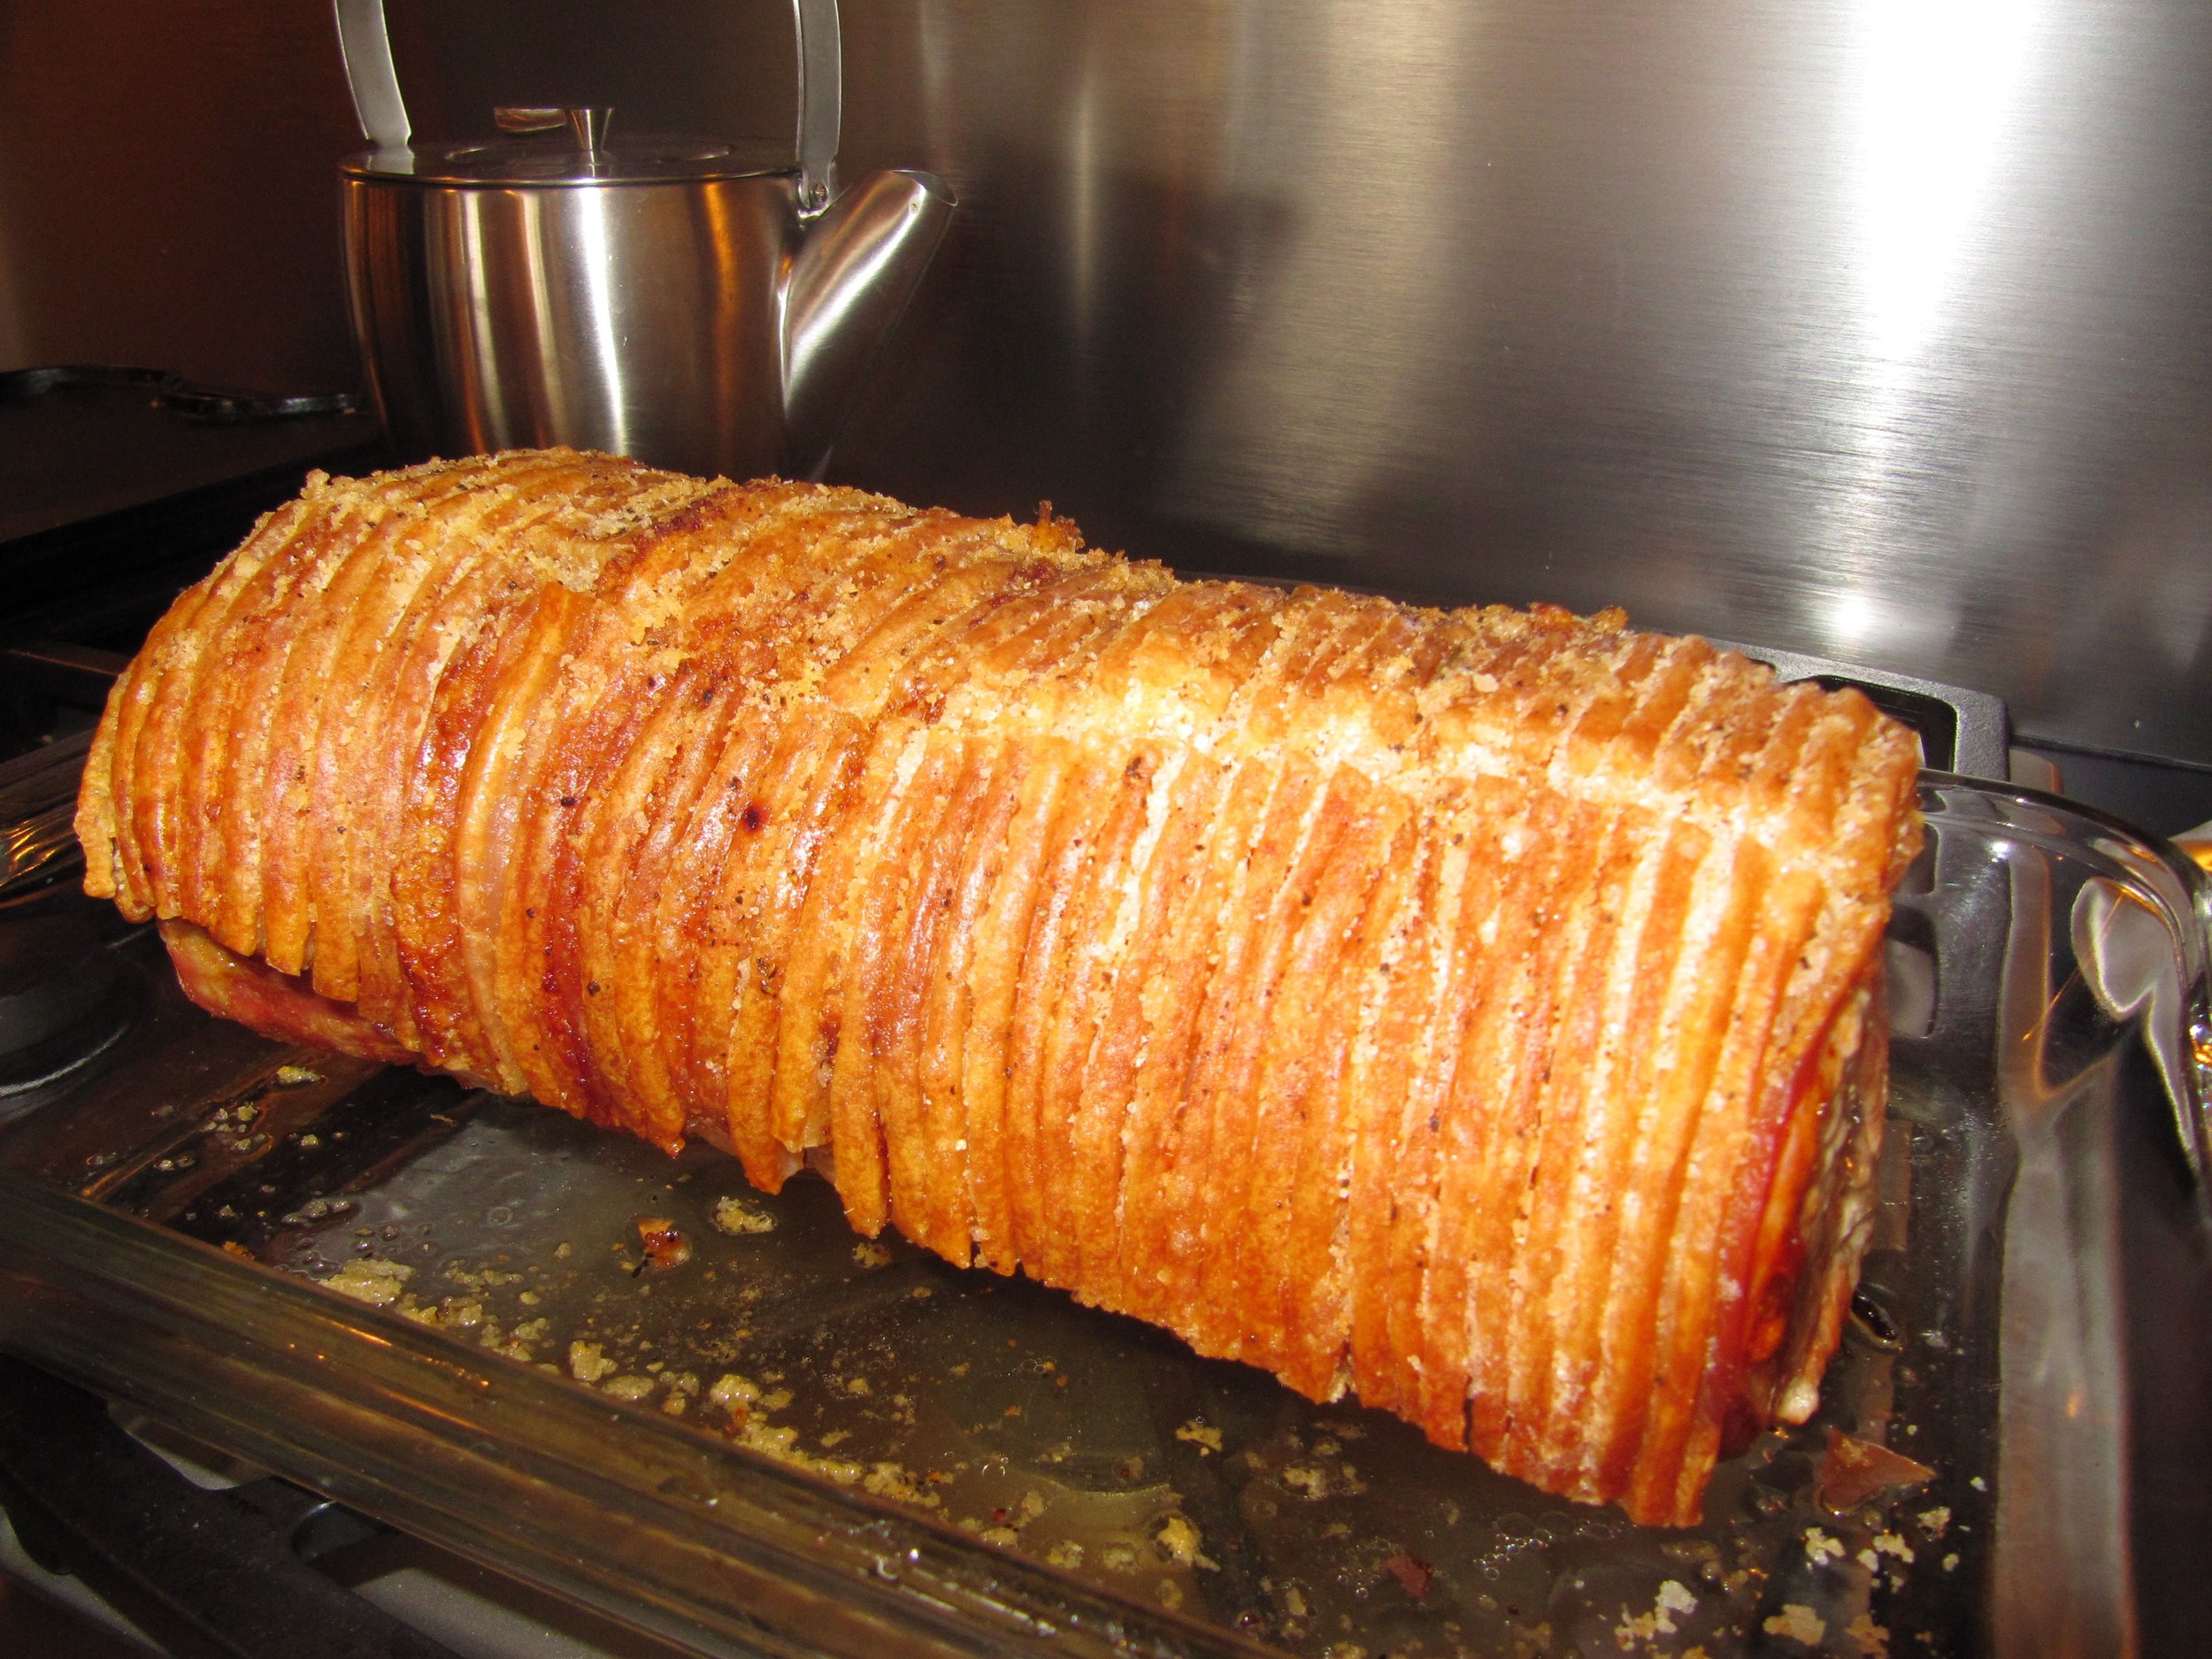
The final key is in how you score the skin! If you want Danish pork crackling, you’ve gotta score it like what you see to the right here: horizontal lines. You’ve probably seen roast pork with skin scored in squares, but beware! That’s slice method is Norwegian :)
Ingredients
Pork shoulder with skin-on (assuming you aren’t in Scandinavia where you can ask for the real cut)
Bay leaves (another optional way to be authentically Danish is to put a bay leaf between every few scores in the skin before putting the pork in the oven. I’m sure this has marginal if any impact on taste but I do it anyway!)
Salt
Steps
The day before serving, score the pork skin with a sharp knife in with horizontal, thin lines. The scores are where you slice each serving, so be sure to make them thin.
Salt liberally on the meat and skin, ensuring that the salt gets between the scores. Add the pork to the fridge and leave uncovered until the next day.
Preheat the oven to 250ºF and optionally insert a bay leaf between every few slices of skin.
Cook the pork until it reaches an internal temperature of 140ºF. This can take like 2.5 hours.
In a large pan, add a neutral oil (e.g. canola oil) and bring to temperature on medium heat. Add the pork skin-side down (you might choose to cut it into a few workable pieces to make this easier) until the skin expands and crisps. Here is a video of someone doing this with pork belly for reference.
You can refrigerate at this point if need be, because the authentic recipe requires reheating each individual slice. Otherwise, let the meat rest for 30 minutes then get ready to plate!
6. Putting it all together

It’s time to make those sandwiches. This is how the Lee family put it all together.
Slice each serving of pork along the scores in the skin.
Sear each serving meat-side down in a pan with a bit of oil.
Cover the inside of both slices of the bun with béarnaise (Isted Grill only covered the top).
Cover top bun with pickles.
Cover bottom bun with pork then rødkål.
Put those two sides of the sandwich together and enjoy!