HOW TO ORGANIZE YOUR Kitchen LIKE A RESTAURANT

Until I worked in professional kitchens, I considered my home kitchen highly organized. But working in Michelin star restaurants opened my eyes to a new level of kitchen efficiency — and I’ve since applied those insights at home.
In this post, I share tips for making your home kitchen as organized, efficient, and tasty as a Michelin star kitchen.
I’m here to share how you can apply Michelin star-level kitchen organization to your home kitchen. I’ll start with the approach and then share tools that have worked well for me.
APPROACH
〰️
TOOLS
〰️
APPROACH 〰️ TOOLS 〰️
THE APPROACH
PUT IT IN A CONTAINER
At the Copenhagen-based restaurants I’ve worked at, all fresh and dried goods are stored in plastic containers with the same lid size. Even odd-shaped or one-off items like onions and fruit were (perhaps awkwardly) placed into these containers.

Air-drying the containers at the end of the work day.
Culinary processes (like peeling shrimp) also required the same containers: one container for the unprocessed product (e.g. unpeeled shrimp), one container for the processed product (peeled shrimp), and one container for waste (what you peeled from the shrimp). It’s not an exaggeration to say I would use 50+ of these containers a day.
Why the dependency on uniform plastic containers? When everything is in a container with the same width and depth, everything becomes stackable. Need room to store your lemongrass for a second? Place the lemongrass container on the container filled with apples. Need to make space in the fridge? Stack one row of containers as high as you can, then start to fill the next row.
By eliminating everything that isn’t a uniform stackable container, cleanup and storage also becomes more predictable. By using different size containers with the same lid size, you maximize the chances that you have a spare lid for any given task.
lABEL IT
The infamous plastic containers are labeled with masking tape on which chefs use a sharpie to write the ingredient name and the date the product was received. At Nordic Michelin star restaurants — where a single-bite amuse bouche could use 20 different ingredients — the ingredient-labelling process is so common that the sharpie is the second most-used tool after the chef’s knife.
Ideally, these labels are all placed in the same place to signal where the lid opening is (e.g. at one restaurant we placed all labels just below the slit to open the lid).
Of course, sharpie legibility is critical. But in my home kitchen I’m less time-crunched, and I’m often using products that last for many weeks, so I prefer to use a label-maker.
CUT THE TAPE
In a fast-paced kitchen, it’s much easier to rip the roll of masking tape by hand to make a label, but doing so results in jagged edges on two labels (yours and the next one). That’s why there’s a rule in the kitchen that is practically a commandment: cut the tape.
Whether with scissors or a razor blade that never leaves a chef’s pocket, the masking tape label must be cut to a straight edge before use as a label. The same rule extends to placing the label in the same location on each container and removing the tape before putting a container in the dish pit.
PRO TIP
〰️
PRO TIP 〰️
Some cooks line a small cutting board with many rows of pre-portioned tape. That way you can bring your label board with you to make labels in bulk without taking up part of a workbench.
Cutting the tape isn’t just for the aesthetic. It’s a sign of respect to your coworkers. And, when the whole team takes the same care across adjacent jobs, the tedious task of cutting tape reduces unknowns in process flow, creating new efficiencies in aggregate.
MINIMIZE MOVEMENTS
When professional cooks are doing a process many times, they’re always looking for ways to optimize, and much of this optimization is enabled by how you organize your kitchen. Without exaggeration, each time you walk, reach, or slice is an opportunity for optimization:

My pegboard
Walk less by bringing things to you. Keep separate smaller stashes of bulk items if it means less trips to storage. In home kitchens, this might mean keeping multiple items of things you use frequently: one neutral oil in the stove and another next to the pantry.
Reach less by strategically placing piles of raw product, processed product, and waste in an order and distance that matches how you naturally process that product. Similarly-sized containers helps with this!
Slice less by incorporating the return-to-base movement into your slice movement (e.g. half of a slice of meat moves away from you, and half of it moves back towards you so you can repeat again faster).
One way I’ve minimized movement at home is with a pegboard. Less fumbling in drawers for items when I can see and grab it immediately from its hanging position. Another way to minimize movement is to organize your pantry in a way that make things more predictable (e.g. order by flavor profile).
MAKE SPACE FOR PEOPLE
Your workspace in a professional kitchen is going to be pretty small — perhaps as wide as your shoulders.
It’s a good practice to use up the space in front of you before you use up the space to the side of you. This allows others to step in and work alongside you (or even just store something next to you for a second). It also allows you to dedicate isolated vertical spaces to single tasks so you can multitask horizontally.
MAKE SPACE FOR STUFF
It’s important to make space for product too. As soon as you’re not using something, put it away.
That applies while executing a recipe, but it applies to seasons too: some products just aren’t necessary all year long. If you’re not using it this week or month, you’re better off keeping it in storage. This could apply to preserves, frozen goods, tools, whatever — reduce the clutter so you have more space to
At Yume Wo Katare, the head chef is constantly looking to throw away equipment, to make the workplace as minimalist as possible. Though he still requires special equipment for pop-ups, he keeps those in an isolated storage space that is totally out of reach from the day-to-day flow. I’ve copied his approach and keep all my ramen-only equipment in a box I take out only when I’m making ramen.
APPROACH
〰️
TOOLS
〰️
APPROACH 〰️ TOOLS 〰️
THE TOOLS
These are the products that work for my kitchen, but your unique setup might require unique tools! Experiment.
FOR SPEED AND PRECISION
Use dispenser bottles: To save money, I buy products like neutral oil and white vinegar in bulk (sunflower oil, white vinegar) and keep a portion of each in easy-pour glass bottles. I’ve tried a handful of bottles but prefer the OXO Good Grip Precision Pour Dispenser for the speed of the pour, size, and ease of cleaning.

I also use the smaller soy sauce dispenser — but that’s mainly for soy sauce applications where I’m not too picky. For applications where the soy sauce is an important ingredient, I refrigerate soy sauce after it’s opened.
As for olive oil, where I’m very sensitive to an old or spoiled batch, I buy that only in small containers and keep it from sunlight.
Use spray bottles: I keep small spray bottles (labeled of course!) for the liquids that I tend to “finish” a recipe with: white vinegar, soy sauce, citric or malic acid solution, and absinthe (for cocktails). These spray bottles have served me well.
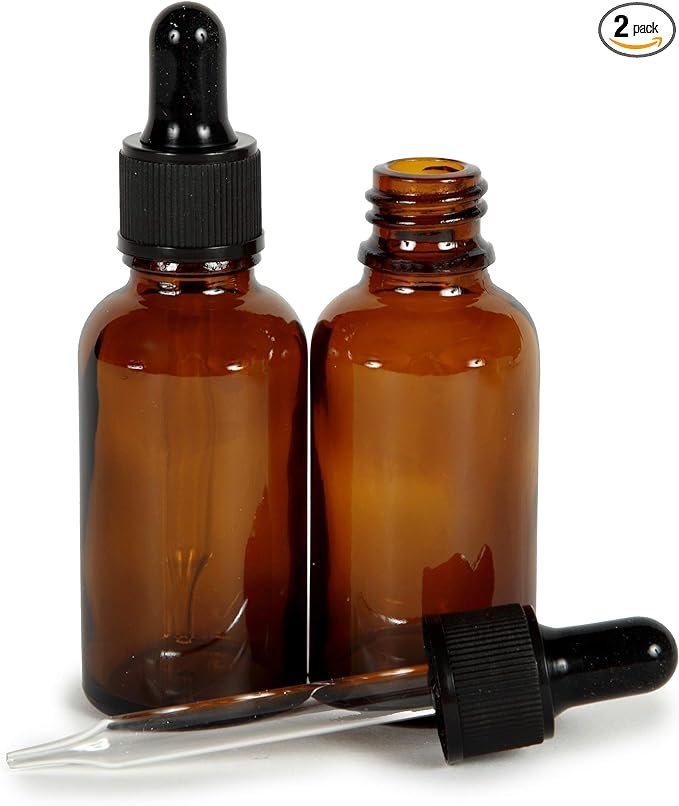
Use droppers: Meanwhile, for truffle oil (where absolute accuracy is critical to avoid something that tastes like, well, truffle oil), I prefer a dropper.
Amber spray bottles for an oil or vinegar final touch

Oil dropper for precision flavoring
OXO dispensers for bulk oils and vinegars

FOR STORAGE and PROCESSING
I’m nothing without my uniform plastic containers, and I loveeee these ones — closest North American option to the ones they use in Denmark restaurants! They are dish-washer safe and air-tight. I store finished ferments in the fridge in these without issue for long periods of time.
8 oz containers that stack with the 16 oz ones.

16 oz containers that stack with the 8 oz ones.

64 oz containers for the bigger stuff.

For larger stuff (e.g. broth storage), I use cambros. The clear ones can handle 210F liquids (near boiling!), so I prefer those to the opaque ones that can only handle 160F liquids. I also use these cambros to sous vide (so I have fewer size items and lids to deal with).
12 quart for storage and sous vide

22 quart to store bulk flour. The best flour is WAY cheaper in bulk.

Matching lids for the 12 and 22 quart cambros
